Effective restoration techniques to restore your dashboard to its original appearance, even in cases of severe damage to plastic or vinyl.
The passage of time, constant exposure to the sun, heat, and other factors can cause visible damage to the interior of any vehicle. One of the most affected elements is often the dashboard. Cracks, holes, or worn areas not only affect the aesthetics but can also reduce the car's value. In this article, we explain step by step how to carry out a car dashboard restoration, focusing on repair techniques for plastics, vinyl and similar materials.
Why does the dashboard crack or get damaged?
The dashboard is constantly exposed to UV radiation, extreme temperatures, and material expansion and contraction, causing it to lose flexibility and crack over time. In some cases, minor impacts or prolonged pressure from objects can also leave marks, scratches, or even holes. The good news is that with the right tools and a little patience, you can restore it to a near-new appearance.
Necessary tools and materials
Before starting with the car dashboard restoration, make sure you have the following materials:
-Dashboard repair kit (includes resin or vinyl compound, texturizers, colorants, etc.)
-Spatula or plastic applicator
-Hand sander or fine grit sandpaper (320-600)
-Plastic surface cleaner or degreaser
-Masking tape
-Heat gun or powerful dryer
-Vinyl/plastic paint (spray or liquid)
-Abrasive sponge
-Microfiber cloth
These kits are easily available at specialty stores or online, and are designed to fit different types of materials.
Step-by-step guide to repairing cracks in your dashboard
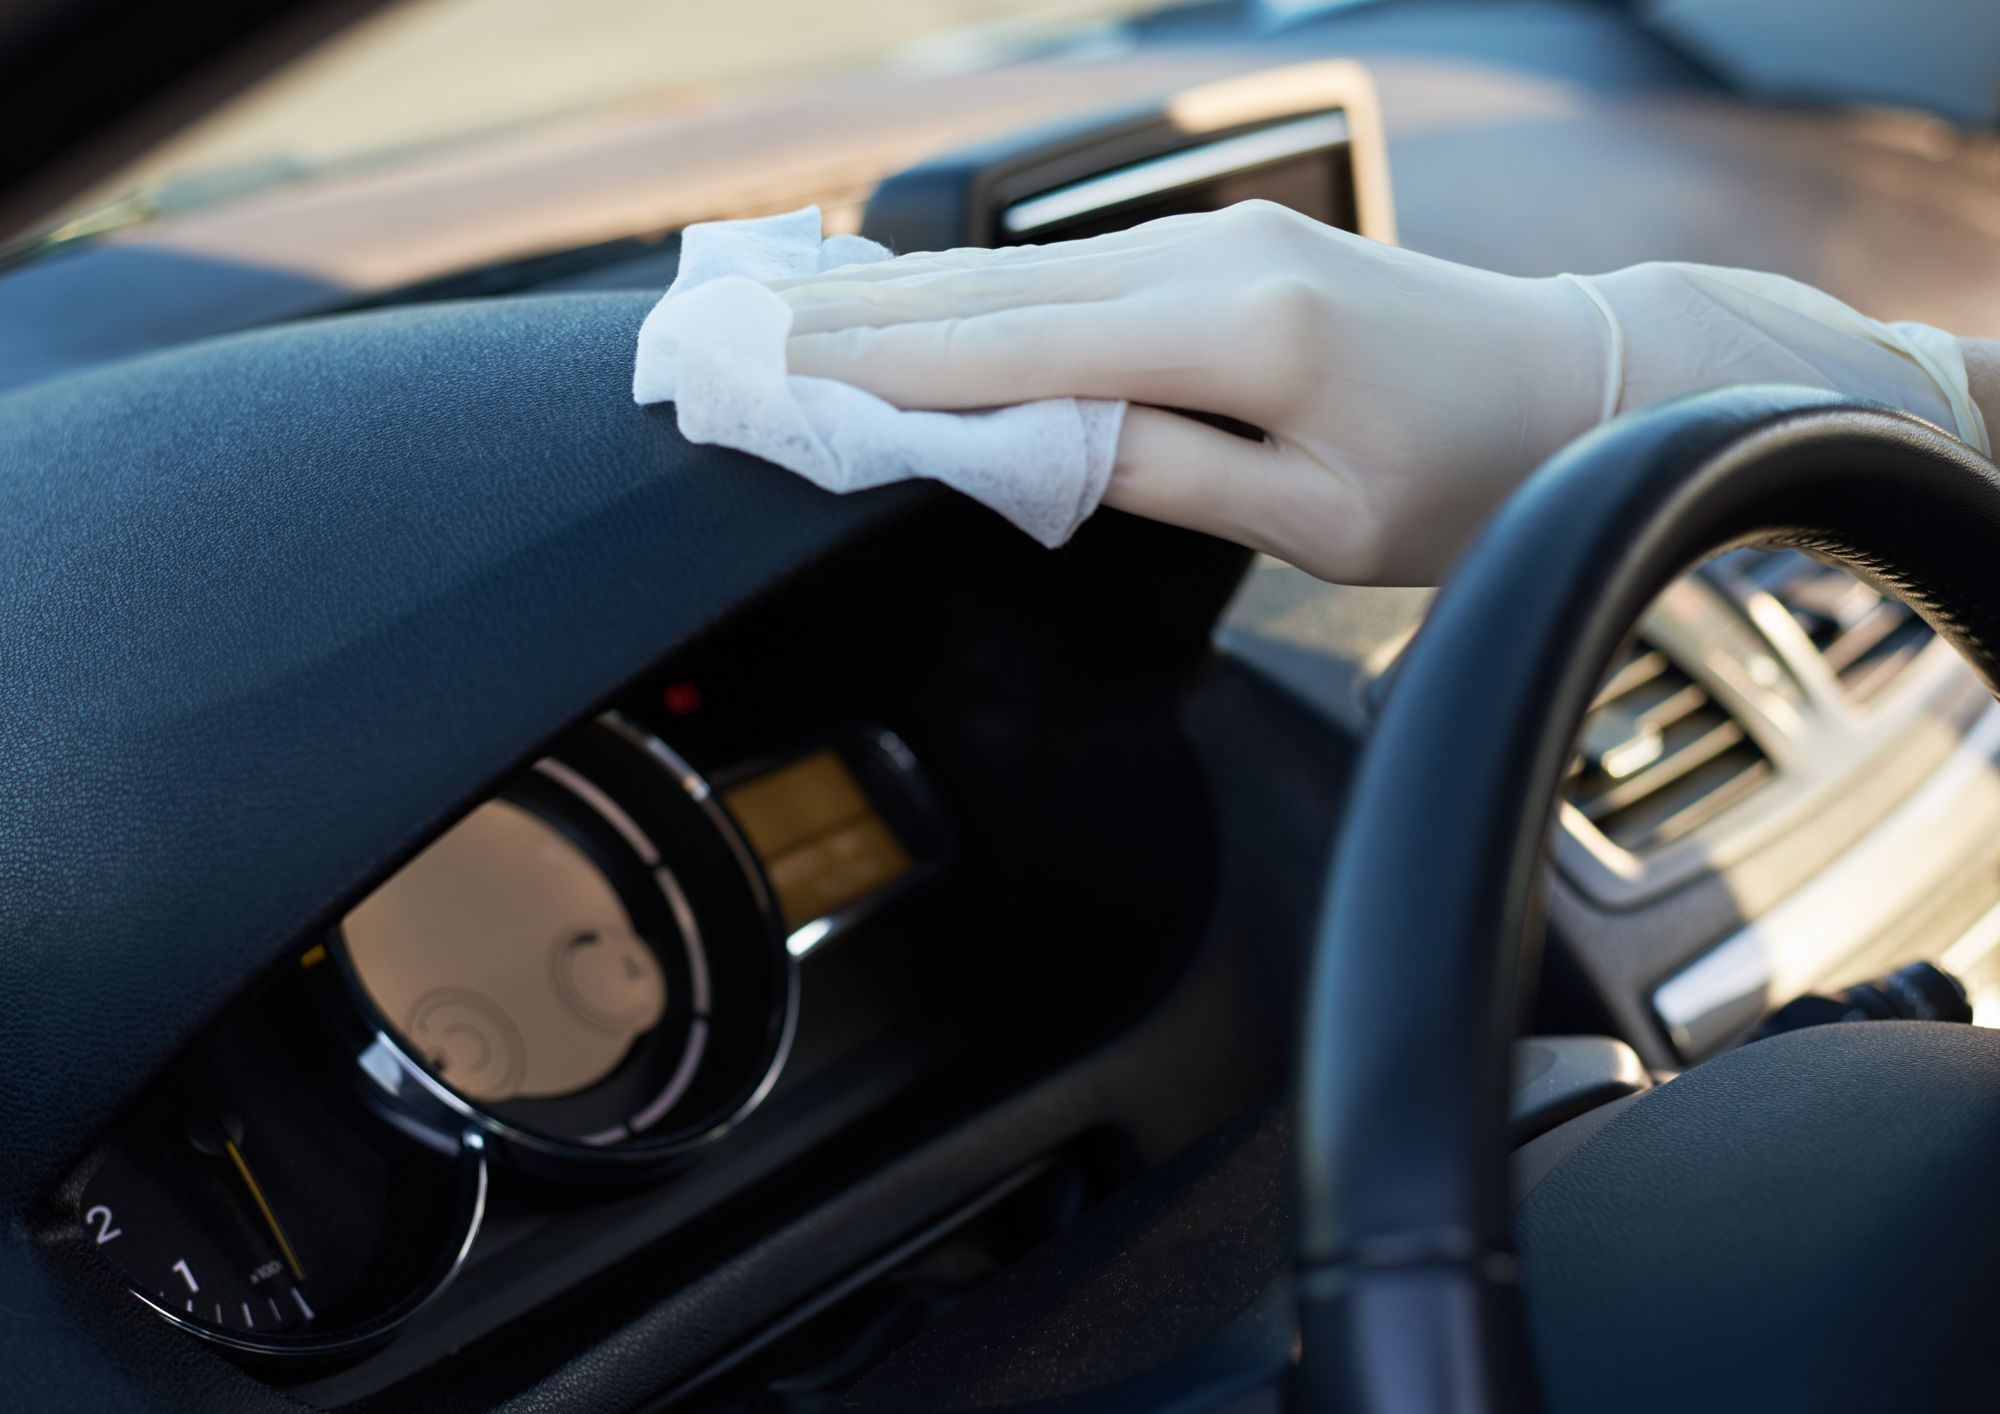
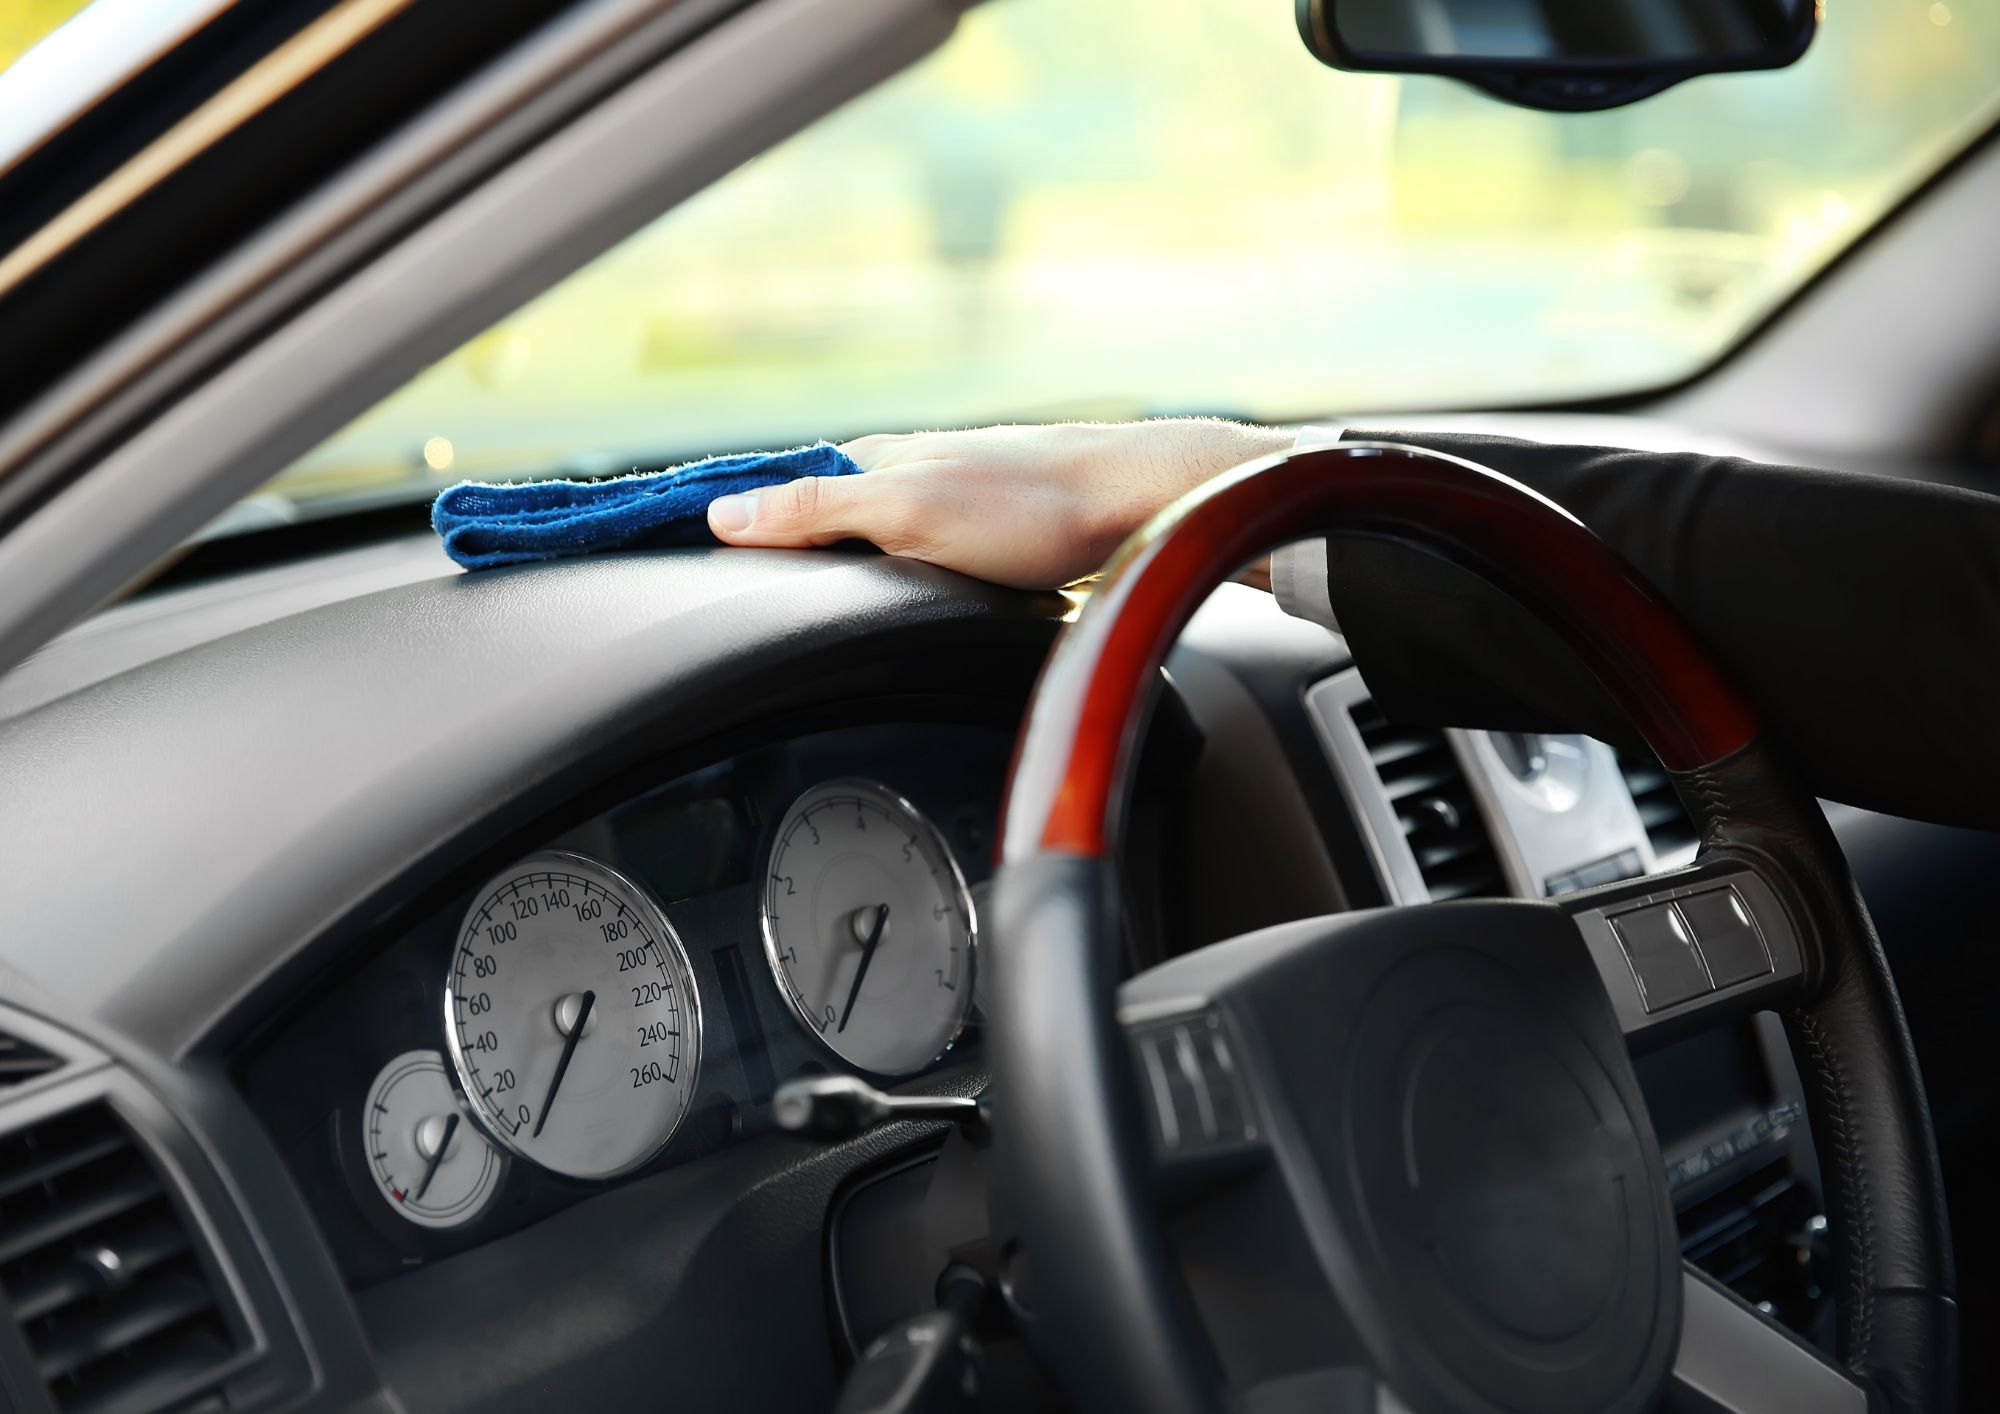
1. Cleaning the surface: Before making any repairs, it's essential to thoroughly clean the affected area. Use a plastic-specific cleaner or a mild degreaser, and dry with a microfiber cloth. The goal is to remove any dust, oil, or silicone residue that could interfere with the adhesion of the filler material.
2. Sanding the damaged area: Using fine-grit sandpaper (ideally between 320 and 600 grit), lightly sand around the crack or hole to remove ridges, lift loose particles, and create a slightly porous surface that will facilitate adhesion of the repair compound. If the damage is a hole, you can enlarge it slightly with a knife to allow the filler to penetrate more deeply.
3. Application of the filling material: This is the most important step in the car dashboard restorationKits usually include a flexible compound (resin or liquid vinyl-based) that must be applied with a putty knife. Completely fill the crack or hole, making sure to level the surface as much as possible. In some kits, the material is hardened with a heat gun or allowed to air dry for several hours.
It's essential to follow the manufacturer's instructions for the kit you use, as each may vary slightly in terms of drying time or application method.
4. Surface texturing: To make the repair invisible, you'll need to mimic the dashboard's original texture. Many kits include a texturer with patterns that simulate the rough or grainy surface of vinyl. Once the filler material is almost dry, gently apply the texture mold over the repaired area. This step may take some practice, but it's crucial for a successful repair. car dashboard restoration truly aesthetic.
5. Light sanding and painting: When the surface is completely dry, lightly sand it to match the level of the repair with the rest of the dashboard. Then, clean the area again and apply a coat of paint specifically designed for plastics or vinyl, preferably a spray paint for a more uniform finish.
Make sure you choose a color that matches the original tone of your dashboard. If necessary, you can test on a hidden area before painting. Apply the paint in thin coats, allowing time to dry between coats, and finish with a coat of sealer if included in the kit.
Repair larger or more complex damage
In cases where the damage is extensive (for example, large cracks or deeply sunken areas), it may be necessary to apply reinforcing mesh before applying the repair compound, or even disassemble the part to work from the back. In these cases, the ideal approach is to combine manual work with the use of structural adhesives or epoxy adhesives compatible with plastics.
This type of work is also part of the car dashboard restoration, but they require more experience and time. If you're unsure, you can seek professional advice.
Tips for a long-lasting repair
-Avoid sun exposure: Use sunshades or cover the dashboard when parking your car outdoors.
-Keep the surface hydrated: There are protective products for plastics and vinyl that help maintain the elasticity of the material.
-Clean regularly with suitable products: Avoid cleaners with alcohol or ammonia, as they can further damage the surface.
-Periodically check the condition of the dashboard: Detecting damage early makes repairs easier and less expensive.
When should you replace your dashboard?
Although the car dashboard restoration While a valid option in most cases is a good idea, there are situations in which replacement is more advisable. If the damage is structural, if there are multiple broken areas, or if the material is completely dried out and cracked, it may be more practical and safer to replace the entire part. Still, it's important to weigh the cost of each option, as a good restoration job can offer surprising results without having to replace the entire dashboard.
The car dashboard restoration It's a completely feasible task for anyone with some skill and the right tools. Whether you're dealing with a small crack or a more obvious hole, there are effective techniques to repair and conceal the damage, leaving a uniform and aesthetically pleasing surface.
With time, patience, and attention to detail, you can restore your car's interior to a fresh look, preventing further deterioration and preserving its long-term value. Don't underestimate the power of a good restoration: a well-maintained dashboard completely transforms the perception of your vehicle.